Transforming Lights
Transformations can be applied by selecting a light in the treeview and moving its manipulators in the Viewer.
UsdGaffer prims support Translate, Rotate, Scale and Center of Interest.
![]()
Locally created light prims will have MakeInteractive set to Yes by default, allowing interactive transformation upon creation.
In order to transform incoming prims, MakeInteractive would need to be set to Yes.
This will allow you to use the transformation handles found on the left side of the Viewer.
![]()
You can also right click on the light prim in UsdGaffer treeview and select Enable Interactive Transforms or Disable Interactive Transforms. This has the same effect as the makeInteractive parameter by turning the ability to make transformations in the Viewer on or off.
![]()
Note: See more about transformations in USD at Native USD Transformations.
Note: You can find more information about the Engine system, and how to find the existing engines and their arguments in the Developer Guide > Usd Processing Engine > Engines.
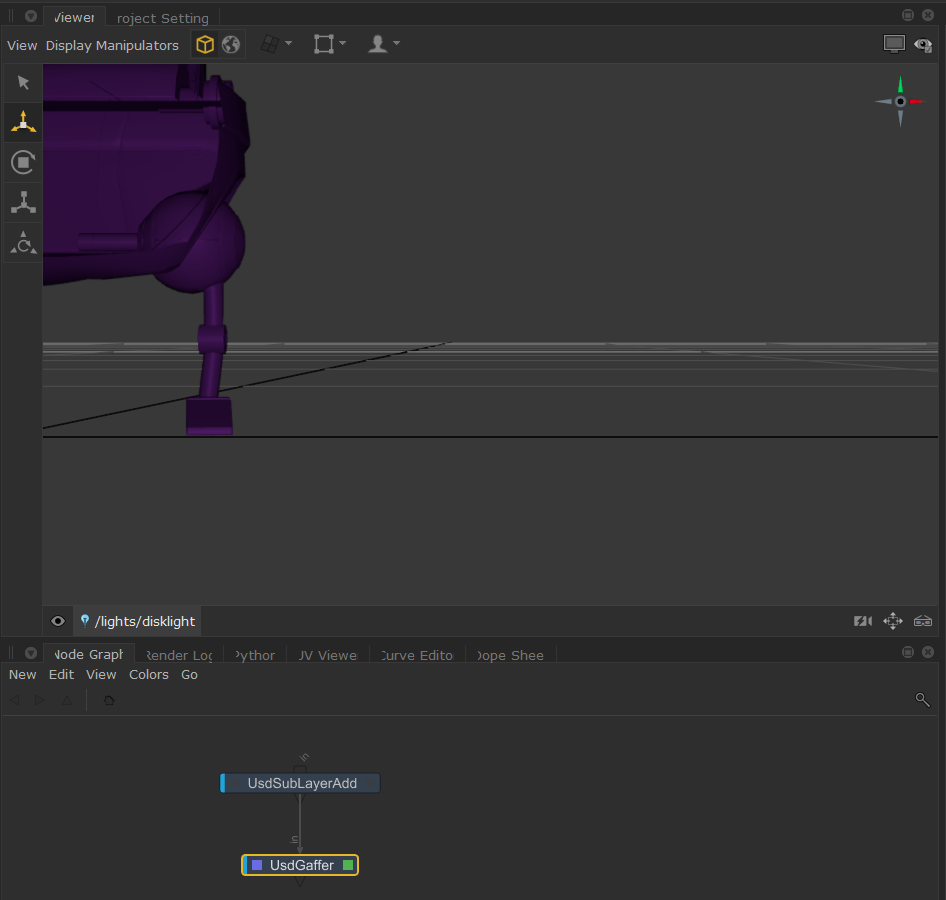
Positioning with Look Through Lights
You can look through USD lights created with UsdGaffer in the Viewer to help with placement.
| 1. | Navigate to the Look Through Lights and Cameras menu at the bottom of the Viewer (this will display the currently viewed through camera, by default it will be set to the perspective camera persp).  |
Selecting this brings up a list of available lights and cameras.
| 2. | You may need to check the Full USD Traversal option to find your USD lights. |
This is because the Viewer dropdown will default find USD prims that are part of the Model Hierarchy, for performance reasons and to save traversing the entire stage, especially when working with large scenes. To ensure prims are part of the model hierarchy, they (as well as their ancestor prims) require their kind to be set to group, component, or assembly.
However, by selecting the Full USD Traversal checkbox option, this enables traversal of the entire stage, removing the need for prims to be specified in the model hierarchy. This checkbox is under the Look Through Lights and Cameras menu.

| 3. | Find and select the light you want to look through. It may help to filter the list to uncheck the Cameras checkbox to see only the Lights. |
| 4. | Select the required USD light from the list and the Viewer will switch to its view. |
Tip: You can select your light in the Scene Graph and then click the button  (which appears next to the Look Through Lights and Cameras menu at the bottom of the Viewer) to look through the selected object. This can also be done by pressing K.
Tip: You can also middle-mouse drag a light from the Scene Explorer tab onto the Viewer tab to set it as the look-through light.
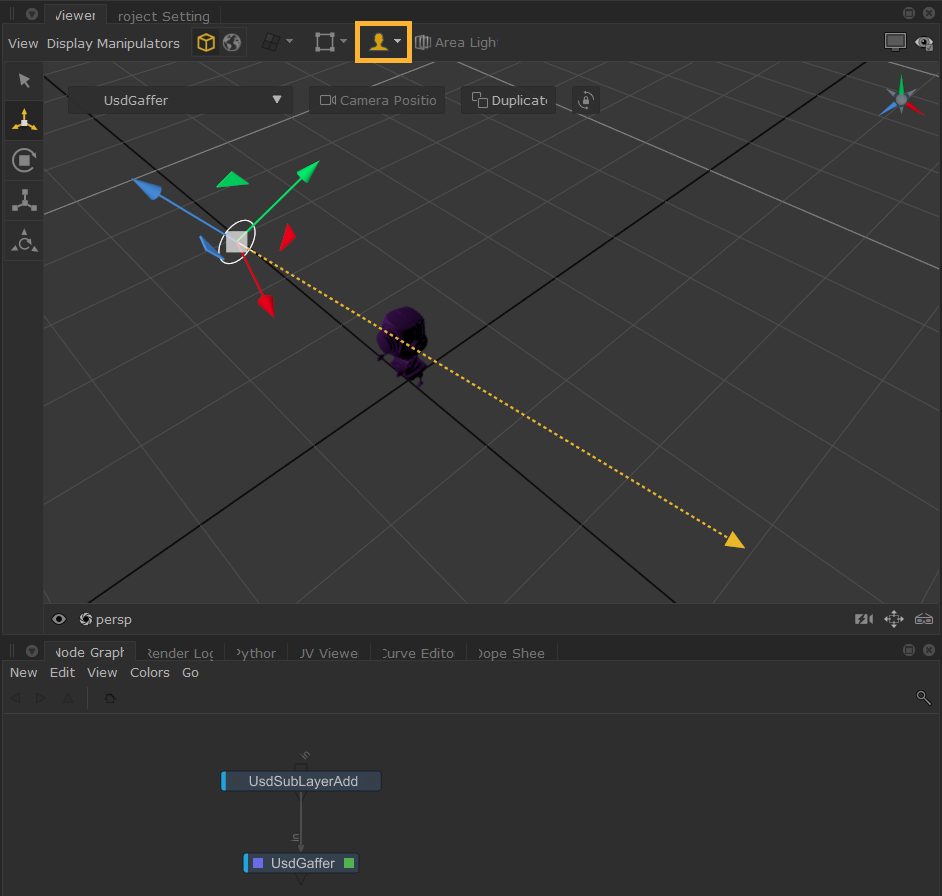
UsdGaffer and Lighting Tools
You can use the Lighting Tools manipulators with UsdGaffer (and UsdSuperLayer) lights.
Click the Lighting Tools button  in the Viewer tab, or press L on the keyboard to turn on Lighting Tools.
Once a light is selected, the yellow arrow manipulator shows the direction of the light. The arrowhead can then be dragged and adjusted as needed. Read more about how to use the Lighting Tools manipulators at How to Position Lights Using Lighting Tools.
You can also select from the Lighting Modes in the dropdown, such as Normal, Specular and Reflection. Read more about Lighting Modes.
However, note that other components in the Lighting Tools, such as the light creation menu, light parameter widget, and Edit Light Material tool do not yet support USD lights.