 Search Tips
Search is based on keyword.
Ex: "Procedures"
Do not search with natural language
Ex: "How do I write a new procedure?"
Contact Support
Adding Layers and Masks
To add a new layer, either:
• from the Layers menu, select Add New Layer,
• right-click any layer in the Layers palette and select Add New Layer, or
• in the Layers palette, click  .
.
The new layer appears in the layer stack, with the paintable layer icon.

Layer masks allow you to mask out the paint you’ve already created in that layer. The mask uses a simple black and white map, which is visible by clicking on Current Paint Target in the Shaders palette. The mask uses black to completely mask out the texture, whereas white completely unmasks the texture.
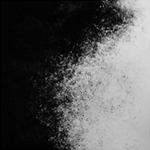
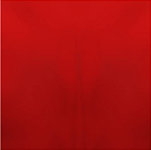
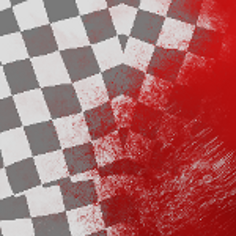
Creating a mask on a layer (painted in black and white) and deriving alpha values from the mask (where the alpha on a pixel is controlled by the shade on the original mask), combines the alpha values with the diffuse color from the layer to create results as shown below:
|
|
|
| Initial B/W mask, shown in Current Paint Target | Diffuse layer | Result of creating a layer mask
|
Any other color used only partially masks out the texture, with the intensity of the mask depending on the amount of black or white in the color.
Note: It’s not necessary to switch to Current Paint Target in the Shaders palette when painting a layer mask. You can still paint in the layer as you would normally, but Current Paint Target provides you with an easy way to examine your mask in isolation.
Tip: We recommend that you create:
mask channels with a white background - so you can paint the mask data black.
displacement channels with a 50% gray background - this corresponds to the default surface. Mari treats darker colors as negative displacement (going into the surface) and lighter colors as positive displacement (coming out from the surface).
Video: Watch this video to learn how to create Layer Masks and Layer Mask Stacks.
This video shows the workflow using Mari 3. Even though the Mari 4 workspace is different, the workflow remains the same. To have a look at the main UI differences, see Mari 3.3 vs 4.0.
Alpha and Masks
To make creating masks easier, Mari has another function to easily convert between alpha and mask values.
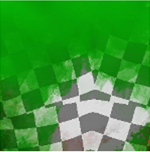
Creating a mask FromAlpha does the opposite of a standard mask. It converts a layer with alpha values to a black and white mask, where the shade on each pixel is controlled by the alpha on the original layer to give the results shown below:
|
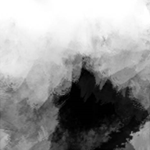
|
| Initial channel with alpha values. |
Result of Alpha to Mask. |
To add a layer mask, either:
• from the Layers menu, select Layer Mask > Add Mask > Reveal All or Layer Mask > Add Mask > From Alpha,
• right-click the desired layer for the mask, and select Layer Mask > Add Mask > Reveal All or Layer Mask > Add Mask > From Alpha, or
• in the Layers palette, click  .
.
The layer mask is added to the selected layer, with the mask icon next to the paintable icon.

Note: You can right-click any of the layers in the Layers palette to access the dropdown menu for more layer options. Right-clicking an existing layer also selects it.