Ready-to-use Shelf Content
The Shelf Palette contains a range of brushes, materials, and smart masks for you to use.
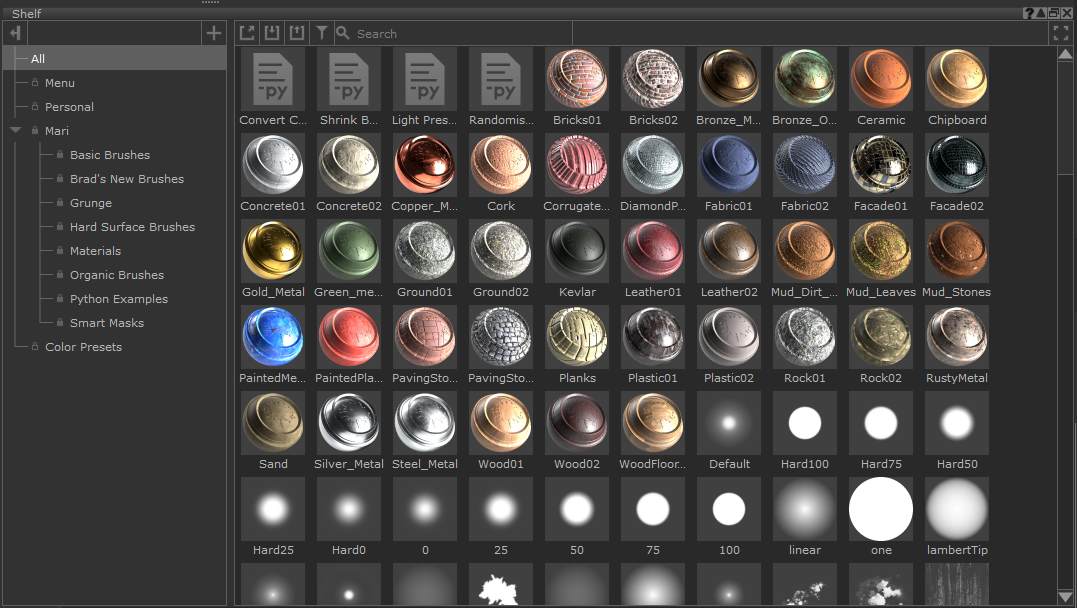
Note: You can find further information about each item by hovering your mouse over the item in the Shelf. This will display a pane with key details.
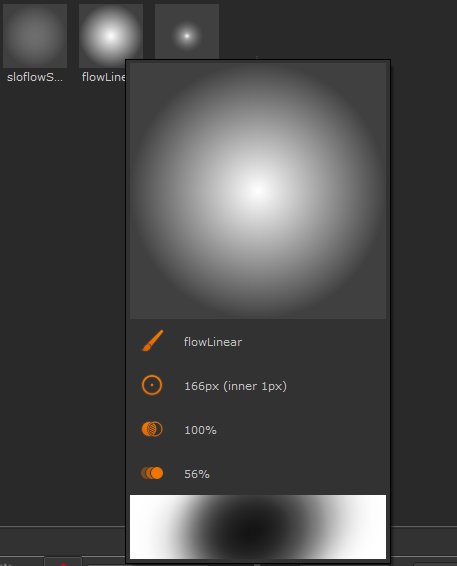
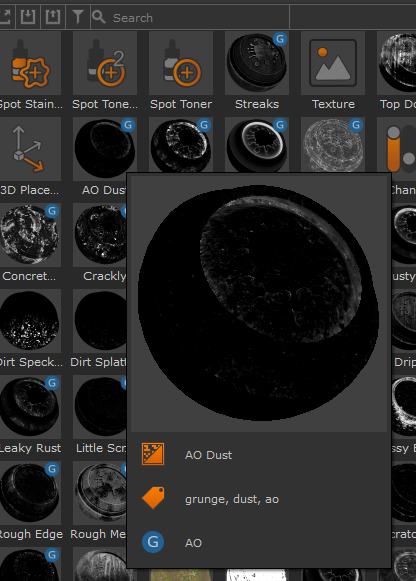
Tip: Select any brush from the shelf to start painting with it.
Tip: Drag materials and smart masks directly from the shelf into your node graph to start using them.
Select each heading to see what each shelf section includes:
Brushes
A set of predefined basic brushes that are versatile in a variety of use cases, and a good place to get started with painting.
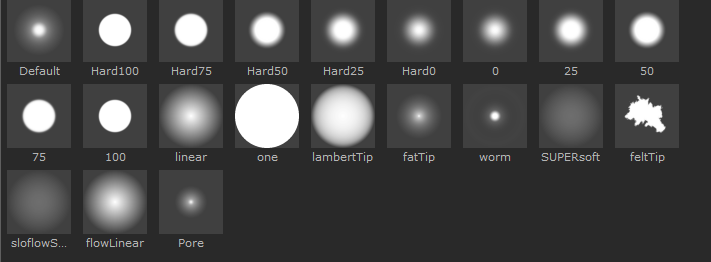
A set of predefined brushes created by Bradford DeCaussin, which can be used to add small detail to your textures. For example, you can use the moleAttack brush to add spots and blemishes to skin, and use jackFrost to add texture to objects in cold environments.
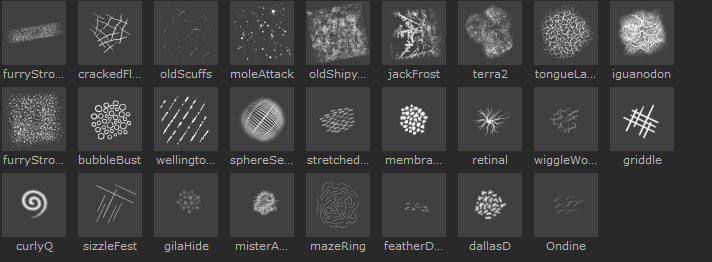
A set of predefined hard surface brushes. These are particularly useful for adding detail to metal surfaces, such as scrapes and scuffs.

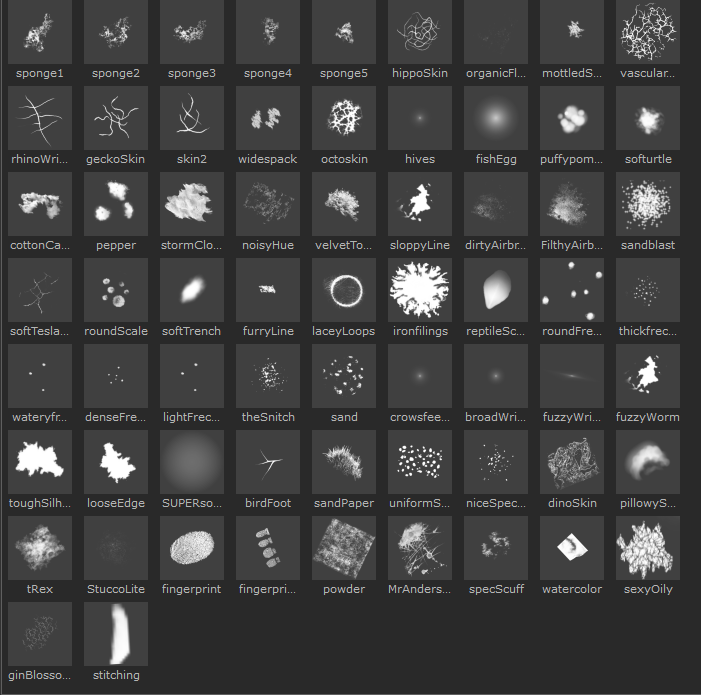
A set of predefined organic brushes, useful for creating plant and animal textures.
Grunges
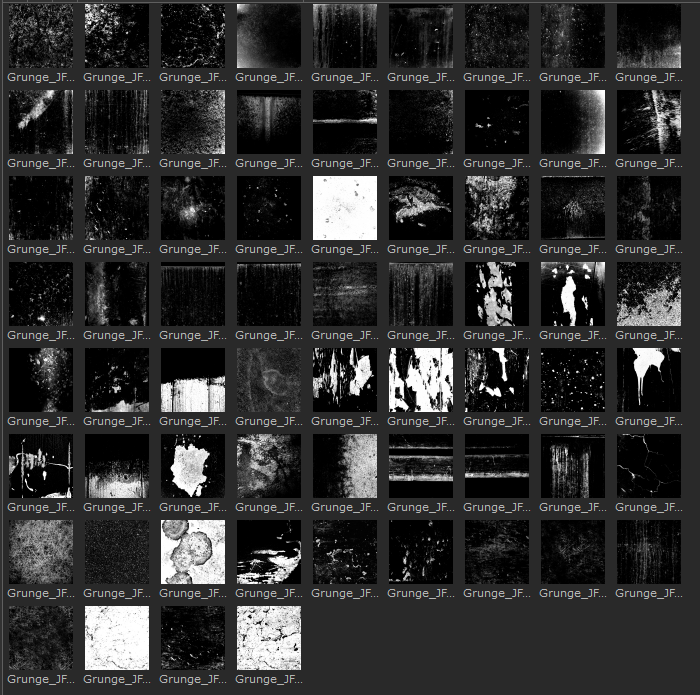
A shelf which comes loaded with high-quality grunge textures created by industry professionals. This includes all of the textures used in the new Smart Masks collection, by Stuart Ansley, plus the Grunge Textures for Mari pack released alongside Mari 7.0, by Johnny Fehr.
Materials
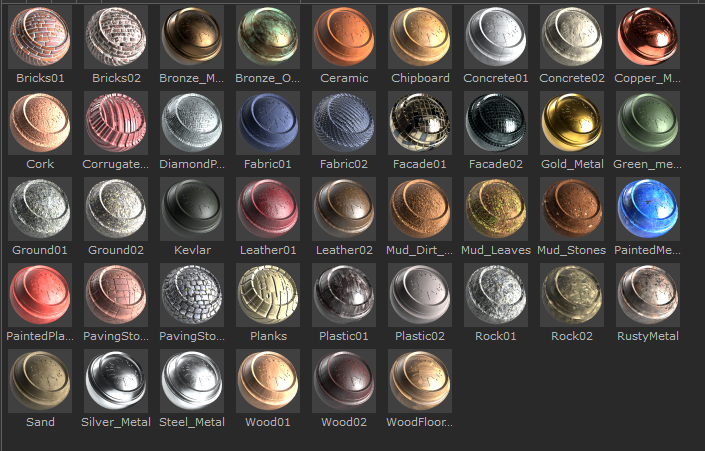
A set of predefined materials based on the Principled BRDF shader model. There are a range of manmade and organic materials for a range of use cases, from adding fabric to clothing, to creating shiny gold coins. See Managing Materials in Mari for more information.
Scripts
A set of predefined python scripts to perform certain useful functions. For example, Shrink Backdrop can help tidy up your node graph by shrinking a backdrop node to fit its contents.

Smart Masks
Designed by industry professional, Stuart Ansley, this shelf contains over 50 Smart Masks and Utilities. These will help you in creating versatile textures with breakups and details, allowing for more realistic and interesting designs. Using the Utilities, you can now easily modify the position and placements of their textures, giving you greater control over the final look.
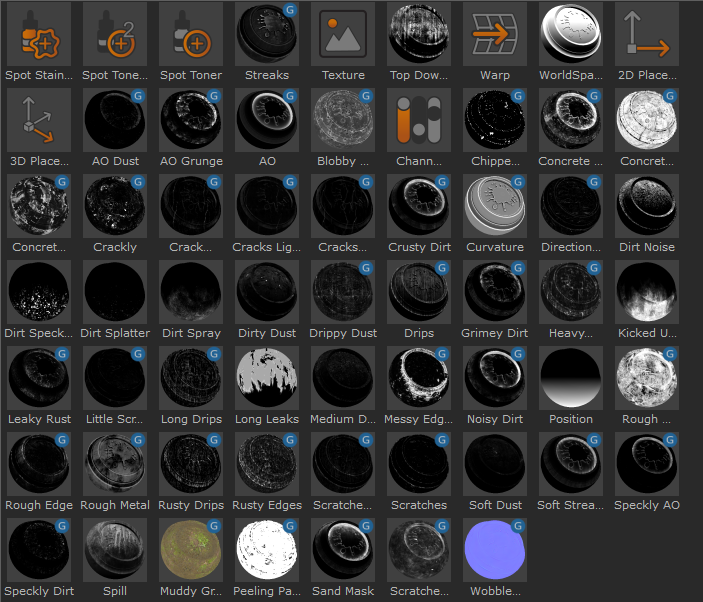
Tip: Once you’ve added them to your node graph, the Smart Masks and Utilities nodes also have more detailed tooltips which give further information about their usage and controls.
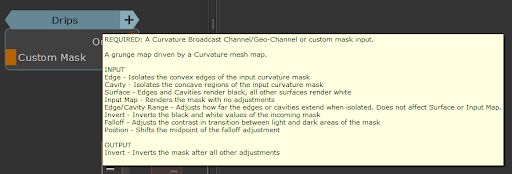
Note: The shelf includes Basic Smart Masks, Grunge Maps and Utilities.
Basic Smart Masks
Basic Smart Masks are controllers that hold mesh map information. For example:

• (AO) Ambient Occlusion: A basic controller for an Ambient Occlusion mesh map. Requires an “AO” Broadcast Channel/Geo-Channel or custom mask input.
| Input | Invert | Inverts the black and white values of the incoming mask |
| Input | Falloff | Adjusts the contrast in transition between light and dark areas of the mask |
| Input | Position | Shifts the midpoint of the incoming mask, effectively adjusting the range of the mask. Will not affect the mask if Falloff is set to 1 |
| Output | Invert | Inverts the mask after all other adjustments |

• Curvature: A basic controller for a Curvature mesh map. Requires a “Curvature” Broadcast Channel/Geo-Channel or custom mask input.
| Input | Edge | Isolates the convex edges of the input curvature mask |
| Input | Cavity | Isolates the concave regions of the input curvature mask |
| Input | Surface | Edges and Cavities render black, all other surfaces render white |
| Input | Input Map | Renders the mask with no adjustments |
| Input | Edge/Cavity Range | Adjusts how far the edges or cavities extend when isolated. Does not affect Surface or Input Map |
| Input | Invert | Inverts the black and white values of the incoming mask |
| Input | Falloff | Adjusts the contrast in transition between light and dark areas of the mask |
| Input | Position | Shifts the midpoint of the incoming mask, effectively adjusting the range of the mask. Will not affect the mask if Falloff is set to 1 |
| Output | Invert | Inverts the mask after all other adjustments |

• Position: A basic controller for a Position gradient for the x, y, and z axis. Note that the output is clamped.
| Axis | X | The blend amount of the x (left-right) gradient contribution |
| Axis | Y | The blend amount of the y (up-down) gradient contribution |
| Axis | Z | The blend amount of the z (front-back) gradient contribution |
| Output | Invert | Inverts the mask after all other adjustments |
| Debug | Debug Enabled | Activates Debug Mode. The output will display Debug Colors if enabled and will ignore any Falloff, Falloff Position, or Invert attributes. This mode can be helpful to align the full range of the Position Gradient from white to black on the 3D mesh using the Floor Offset and Broad/Fine Scale Adjustments |
| Debug | Debug Colors | Activates Debug Colors to more easily visualize the opposite ends of the gradient (pure white and pure black). A value of 1 is displayed in magenta and a value of 0 is displayed in green |
| Debug | Floor Offset | Adjusts the starting point of the gradient. With the default Y Axis active and isolated, the starting point of the gradient will move up and down in space. Lower the slider number to raise the floor starting point |
| Debug | Broad/Fine Scale Adjustment | Increases or decreases the range of the gradient. Smaller assets typically only require the Fine Scale Adjustment slider but larger assets may benefit from a combination of the Broad and Fine Scale Adjustments |
| Input | Falloff | Adjusts the contrast in transition between light and dark areas of the mask |
| Input | Position | Shifts the midpoint of the incoming mask, effectively adjusting the range of the mask. Will not affect the mask if Falloff is set to 1 |
| Output | Invert | Inverts the mask after all other adjustments |

• WorldSpaceNormal: A basic controller for a World Space Normal gradient for the x, y, and z axis. Note that the output is clamped.
| Axis | X | The blend amount of the x (left-right) gradient contribution |
| Axis | Y | The blend amount of the y (up-down) gradient contribution |
| Axis | Z | The blend amount of the z (front-back) gradient contribution |
| Input | Invert | Inverts the black and white values of the incoming mask |
| Input | Falloff | Adjusts the contrast in transition between light and dark areas of the mask |
| Input | Position | Shifts the midpoint of the incoming mask, effectively adjusting the range of the mask. Will not affect the mask if Falloff is set to 1 |
| Output | Invert | Inverts the mask after all other adjustments |
Grunge Maps
Each Grunge Map Smart Mask is a combination of a Basic Gradient Input and a Breakup in the form of a tileable texture map, a procedural, noise, or both. All Grunge Map Smart Masks have the same controls as those listed in the Basic Smart Masks, with a few additions.
The following is an example of a typical Grunge Map Smart Mask, driven by an AO mesh map and a tileable texture map with controls for 2D or 3D Placement. In some cases there will be additional similar controls for procedural noises.

• Grimey Dirt: A grunge map based off an Ambient Occlusion mesh map. Requires an “AO” Broadcast Channel/Geo-Channel or custom mask input.
| Smart Mask Tab | |
| Input | Invert | Inverts the black and white values of the incoming mask |
| Input | Falloff | Adjusts the contrast in transition between light and dark areas of the mask |
| Input | Position | Shifts the midpoint of the incoming mask, effectively adjusting the range of the mask. Will not affect the mask if Falloff is set to 1 |
| Output | Contrast | Adjusts the contrast of the output map |
| Output | Contrast Pivot | Adjusts the midpoint of the output contrast adjustment |
| Output | Invert | Inverts the mask after all other adjustments |
|
Breakup Tab |
|
Texture |  |
Texture map used to provide breakup for the mesh map. Generally mixed using an Overlay, Multiply, or other blend mode with the input mesh map |
| Texture | Rotation Angle (Degrees) | Angle of the texture map |
| Texture | UV Repeat | Number of repeating tiles of the texture map |
| Texture | U Repeat | Number of horizontal texture repeats |
| Texture | V Repeat | Number of vertical texture repeats |
| Texture | U Offset | Left and right 2D texture placement offset |
| Texture | U Offset | Up and down 2D texture placement offset |
| Texture | Mirror U | Flips the texture horizontally |
| Texture | Mirror V | Flips the texture vertically |
| Texture | Triplanar | Disables 2D controls, activates Triplanar texture projection, and enables Triplanar projection controls |
| Texture | Front Angle | Adjusts the rotation of the front projection |
| Texture | Top Angle | Adjusts the rotation of the top projection |
| Texture | Right Angle | Adjusts the rotation of the side projection |
| Texture | Uniform Scale | Adjusts the world scale of the texture projection |
| Texture | Scale X | Adjusts the left-right scale of the projection |
| Texture | Scale Y | Adjusts the up-down scale of the projection |
| Texture | Scale Z | Adjusts the front-back scale of the projection |
| Texture | Translate X | Adjusts the left-right position of the projection |
| Texture | Translate Y | Adjusts the up-down position of the projection |
| Texture | Translate Z | Adjusts the front-back position of the projection |
• Some nodes will have additional controls which may include the following:
| Noise | Size | The blend amount of the x (left-right) gradient contribution |
| Noise | Roughness | The blend amount of the y (up-down) gradient contribution |
| Randomness | Amount | The blend amount of the z (front-back) gradient contribution |
| Randomness | Size | World scale of the the randomness noise |
| Randomness | Roughness | Rough breakup of the randomness noise |
| Leaks | Length | Length of the leaks based on the range of the input gradient |
Note: Information on special attributes that are unique to a certain node can be found in the Node Description under the Node tab of the Smart Mask.
Utility Nodes
These tools stored in the shelf can help you create unique effects with Smart Masks.

• Texture
This node contains the controls found in a tiled texture node and triplanar texture node. This can help with scaling and stretching textures to get the desired effect.
• Warp
You can create a warp effect in both UVs and 3D, and switch to Directional mode to adjust the angle of the warp.
• Spot Toner
This helps add definition to your textures. When connecting a Texture as the Base and Paint node as the Over, you can then paint brightness and contrast onto your texture.
• Spot Toner 2
Similar to Spot Toner, but instead of working with a Multiply blend mode, it works with Gamma instead.
• Spot Stainer
Similar to Spot Toner 2 but a stronger effect. This utility is useful for blood or wet masks as you can change the color, depth, and falloff to make a realistic stain effect.
• Channel mixer
Add and mix colors to different channels, creating a variety of color effects.
• 2D Placement
Control the rotation, position, and scale of textures in UV space.
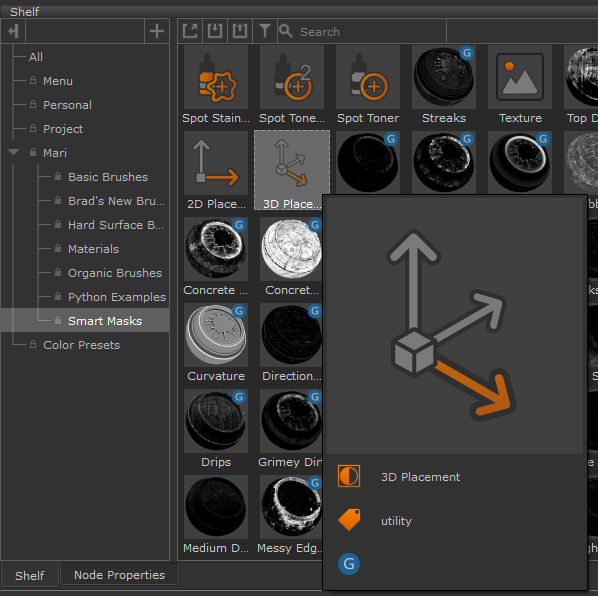
• 3D Placement
Control the rotation, position, and scale of textures in 3D space.
Note: To learn more about using Smart Masks, see Smart Mask Node.
Utilities Example: Using 3D Placement
This example shows how to use a utility node from the shelf to manipulate the placement of a procedural.
| 1. | Add a 3D Placement node to your node graph from the Smart Masks Shelf (you can drag it directly into the node graph). |
| 2. | Create a Cloud node (Nodes > Procedural > Fractal > Cloud) in your node graph. |
| 3. | Plug the Output of 3D placement in the Position input of the Cloud node. |
| 4. | You can now use the utility tools to manipulate the rotation/scale/position in the Node Properties of the Smart Mask. |
