Quickstart Guide: Launching Nuke Stage
It’s time to launch and configure Nuke Stage so you can import and edit your scene.
| 1. | Open up Nuke Stage Launcher. The Launcher enables you to define where processes run. It can control the launching of processes across a larger stage. |
| 2. | Add the following processes to your Launcher: |
- Editor - This will launch the UI application Nuke Stage Editor.
- Relay - This will handle the networking.
- Two RenderNodes - this is based on a project that uses 2 LED screens.
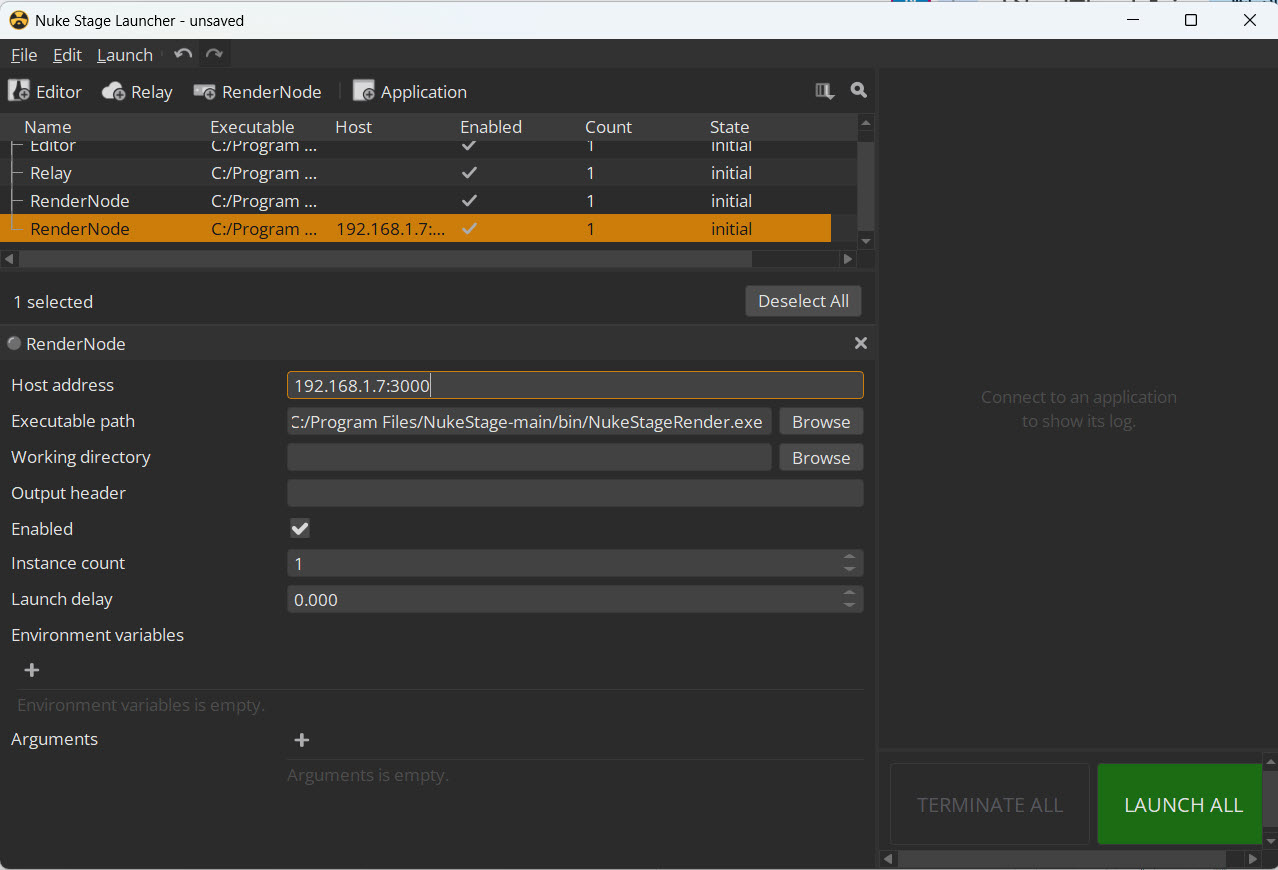
| 3. | For each RenderNode process, define the host address and port for the render node. This is the IP address and port of the listener (e.g. 192.168.1.7:3000). |
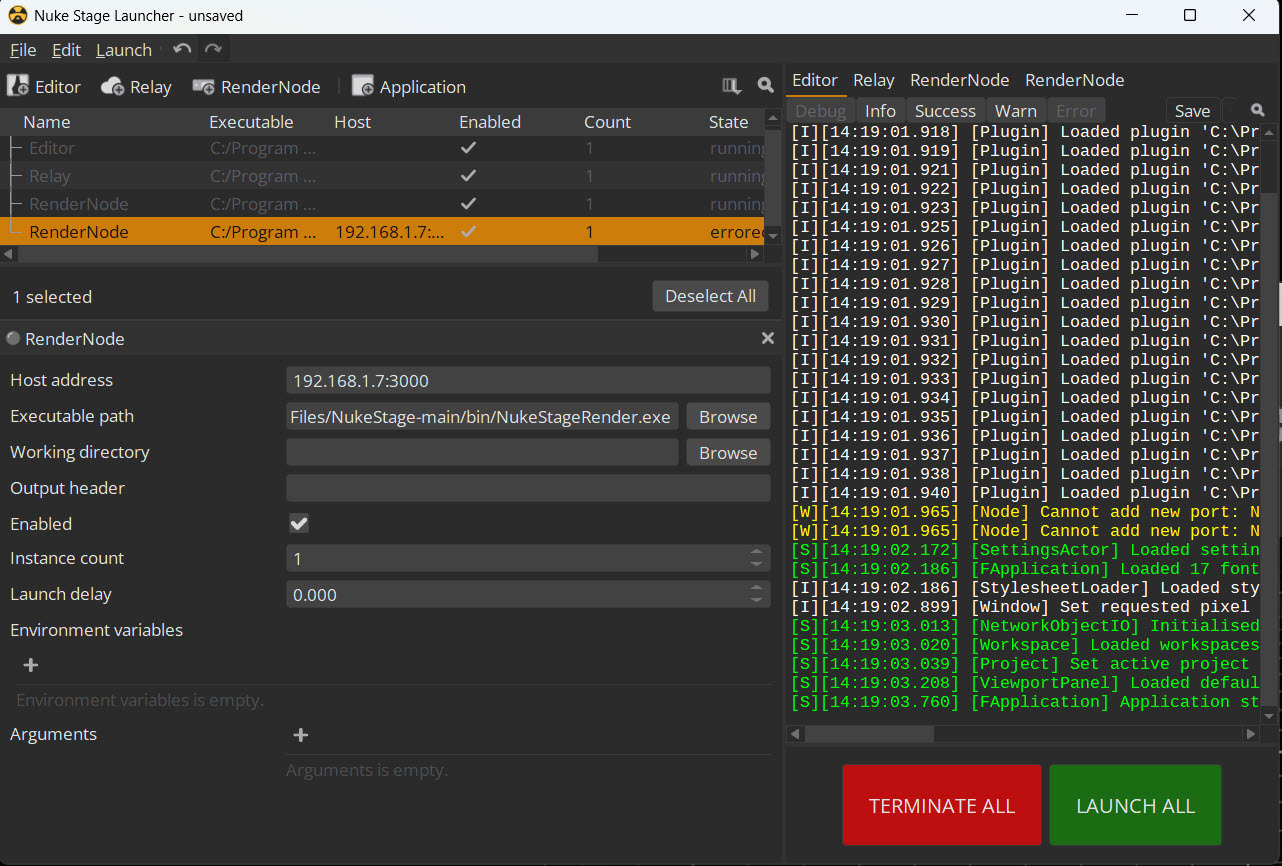
| 4. | Click Launch All. This launches the render processes on each of the RenderNodes, the Relay, and opens up the Stage Editor. |
Now it’s time to configure the Stage Editor so it’s ready to import our content. First, define the Network connections.
| 1. | Go to the Nuke Stage Editor and open the Setup workspace. |
| 2. | In the Properties panel, connect your Stage Relay to the Editor. |
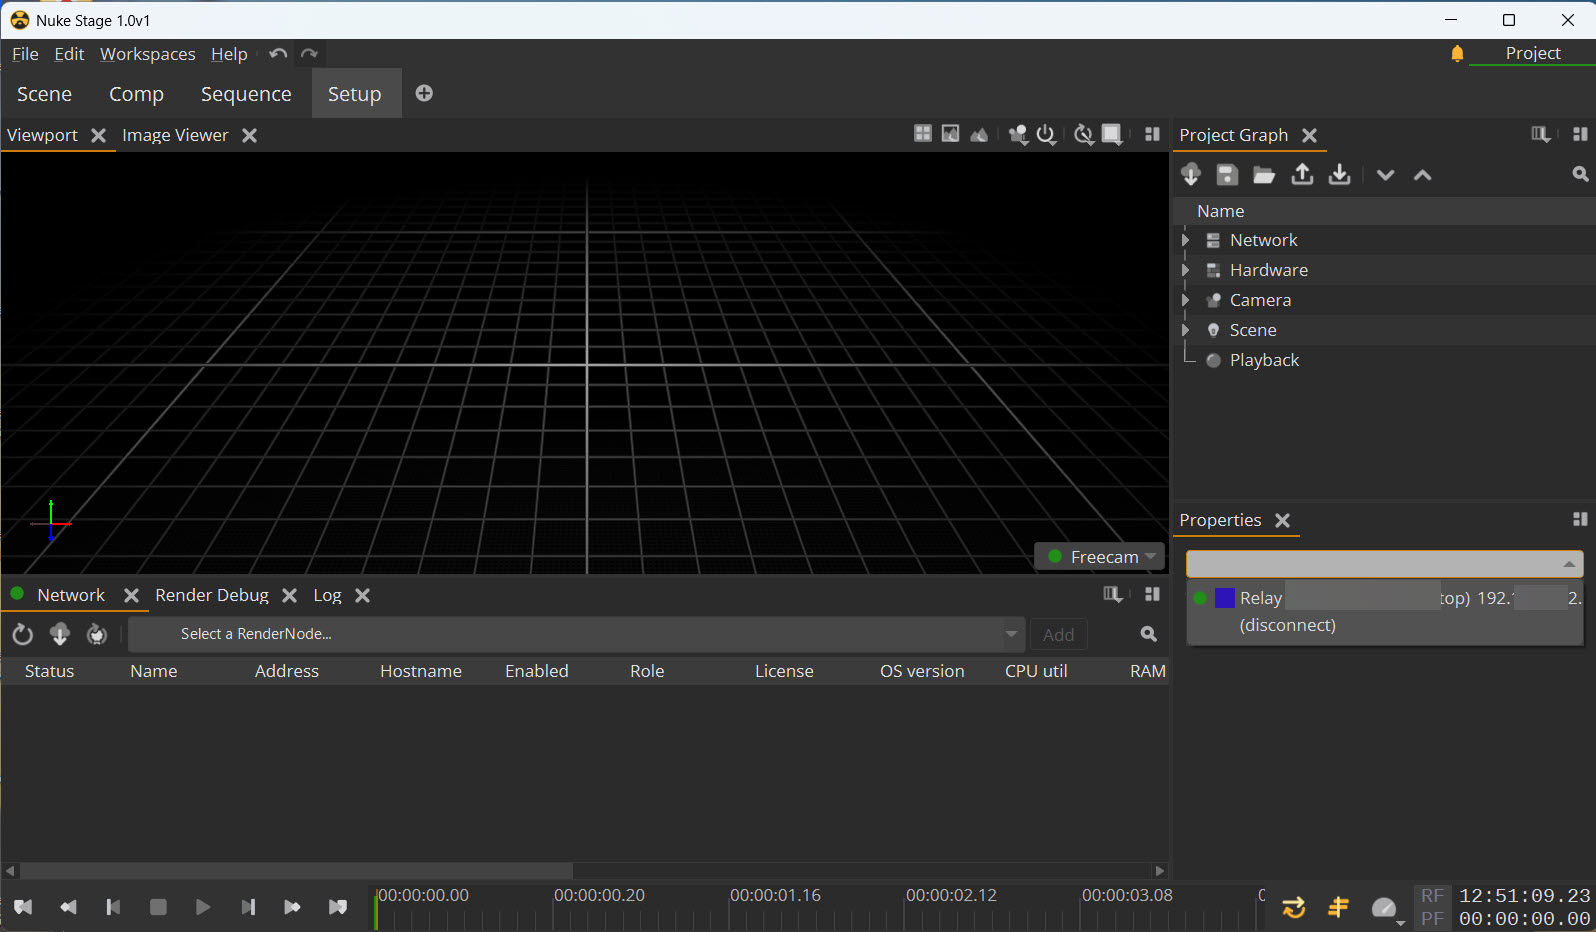
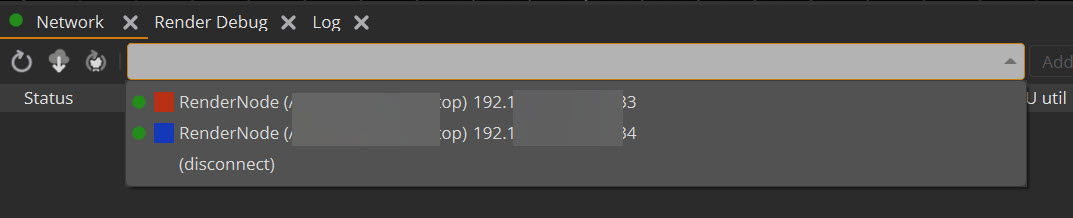
| 3. | In the network panel (found in the Setup workspace), add the two RenderNode processes by clicking each of them and pressing the Add button. |
If you cannot see the RenderNodes in the Network panel, try the following steps:
- Ensure that the listener is running on the RenderNode machines
- Check that the IP address and Port are correct in the launcher.
- Remove Firewall settings that could be blocking connection.
You can access information on the connection and performance from within the network panel.

Note: You can also add your RenderNodes through Project Graph > Hardware > RenderNodes.
It's now time to set up our cameras and displays in Quickstart Guide: Setting Up the Project Graph.