Network Setup
Once you have launched Nuke Stage via the Launcher, the first thing that should be done is the Relay and RenderNode connection.
Connecting to a Relay
To be able to discover and connect to RenderNodes on our network, as well as receive camera tracking data, you first need to connect to a Relay.
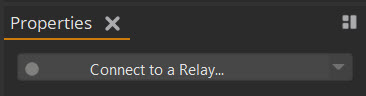
| 1. | Go to the top of the Properties panel. |
The Relay connection option is always at the top of the Properties panel, regardless of what property is displayed.
| 2. | Click the Connect to a Relay… dropdown and select your network. |
Note: The Relay connection is not a saved property and you will need to connect to a Relay whenever you restart a project.
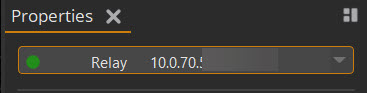
| 3. | That Relay connection should then show green to indicate a successful connection. |
Connecting to RenderNodes
Once the Relay is connected, you then need to add any available RenderNodes.
| 1. | Open the Setup tab and go to the Network panel. |
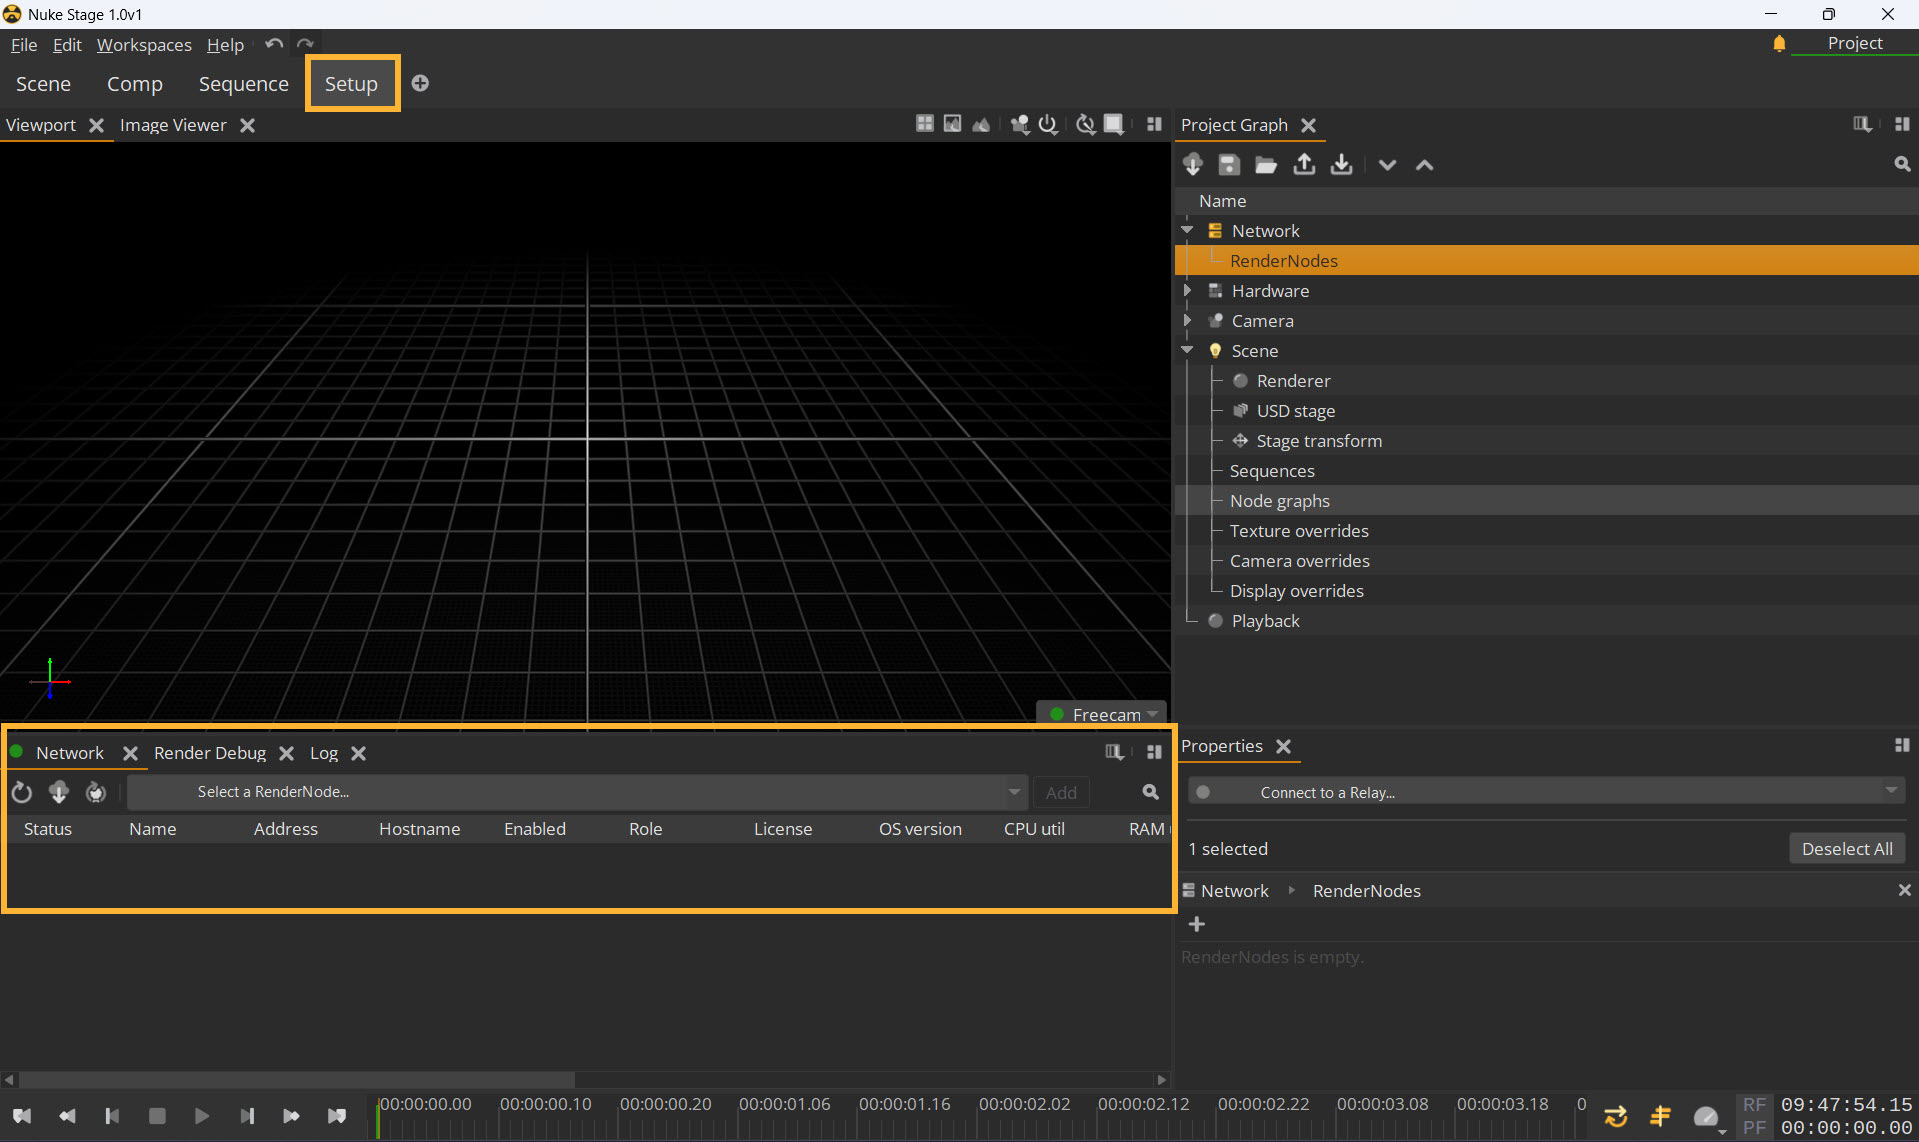
| 2. | Find the Select a RenderNode… dropdown. This dropdown should display a list of every RenderNode application running on the network, so if you launched RenderNodes in your network using the launcher config json file, they should appear here if they launched successfully. |
| 3. | Select each RenderNode you wish to use and add using the Add button to the right of the dropdown. |
| 4. | Once added, each RenderNode should appear in the list below the dropdown with a green icon if it’s connected successfully. |
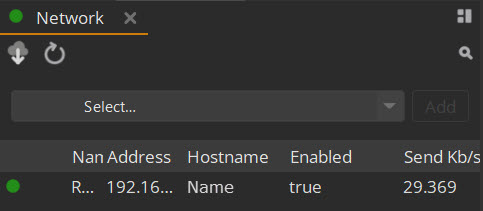
Network Panel Controls
This panel displays all the RenderNodes connected to the Nuke Stage project. The connected RenderNodes will display the following information:
• Status - color indicates connection status.
• Name - name of the RenderNode within Nuke Stage
• Address - I.P. Address
• Hostname - the location of the RenderNode on the network
• Enabled - when ticked, the RenderNode is active in the project.
• Role - the role of the RenderNode license.
• License - whether or not the RenderNode has successfully got a license from the license sever
• OS version - operating system the RenderNode is running
• CPU util - CPU utilization percentage
• RAM util - utilization of the RenderNode's RAM
• GPU driver - the GPU driver version for the RenderNode
• Disk read - the current disk read speed per second
• Disk util - the current disk utilization percentage
• Resolution - the resolution of the RenderNode's primary display
• Refresh rate - the refresh rate of the RenderNode's primary display
• HDR - whether or not high dynamic range is currently set in Windows for the RenderNode
• Net send - the amount of data being sent per second by the RenderNode (in Kb/s)
• Net recv - the amount of data being received per second by the RenderNode (in Kb/s)
• Barrier time - the time the connection is waiting at the sync barrier (this is valid only for synced machines)
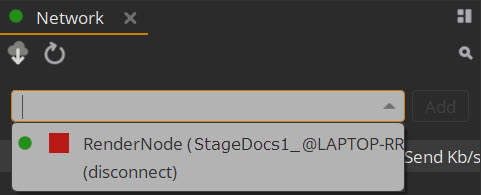
Use the dropdown list to choose from RenderNodes that have been successfully launched on the network. To update this list, press the Refresh button  . Use the Load active project from Relay icon
  to load the connected RenderNodes of that project.
Further information about each option can be found at Network Controls.
RenderNodes in the Image Viewer
Connection Status
Once you’ve connected your RenderNode to the Nuke Stage Editor, a box will appear in the Image Viewer with a message stating it’s waiting for connection. This means it is waiting for an output mapping connection. See Creating Displays to learn more about this.
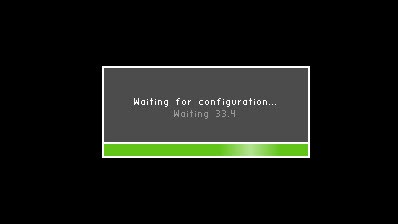
Then, once the RenderNode is connected via an output mapping the connection message will disappear leaving an all-black screen.
Playing Content
You need to press the Play button to see the content on the RenderNode. This can be found on the bottom bar of the Nuke Stage Editor UI. See Playback Controls to learn more about playback.

Debugging RenderNodes
Debug information is viewable from each RenderNode which may be of use while setting up and playing back. See Debug Views in the Reference Guide to learn more.