Quickstart Guide: Loading and Editing a USD Scene
In this example, we will be using the sample cityscape asset (accessible from the Nuke Stage download page, in the folder nuke_stage_sample_projection_mapping.zip) to explore how you can make real-time edits to 2D, 2.5D and 3D scenes in Nuke Stage.
In this section we will be working with the Node Graph and the Scene Graph.
Loading a USD Scene
To load a USD scene in Nuke Stage :
| 1. | Go to Project Graph > Scene > USD Stage and select your desired USD filepath (for our sample project this is foundry_jhb_demo_public_export_001.usd). |
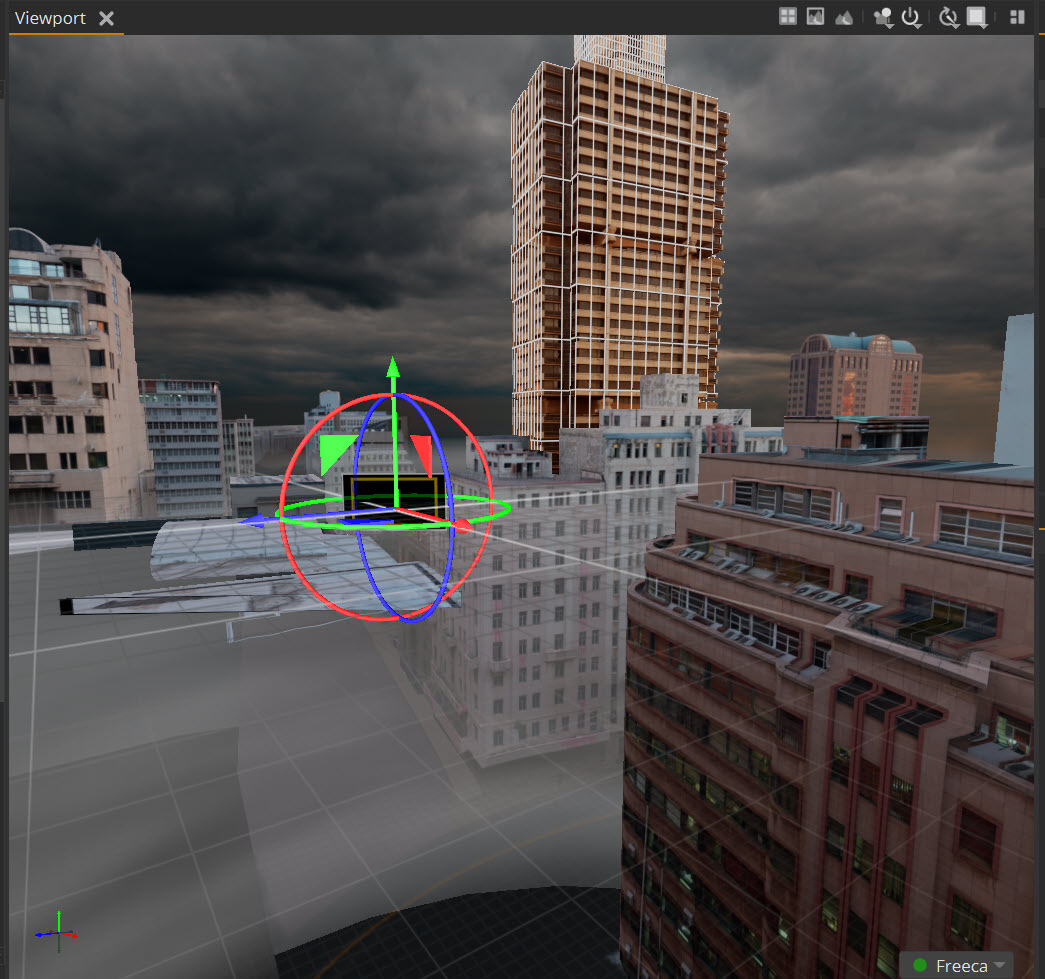
| 2. | Once loaded, the USD scene will show in the viewport. |
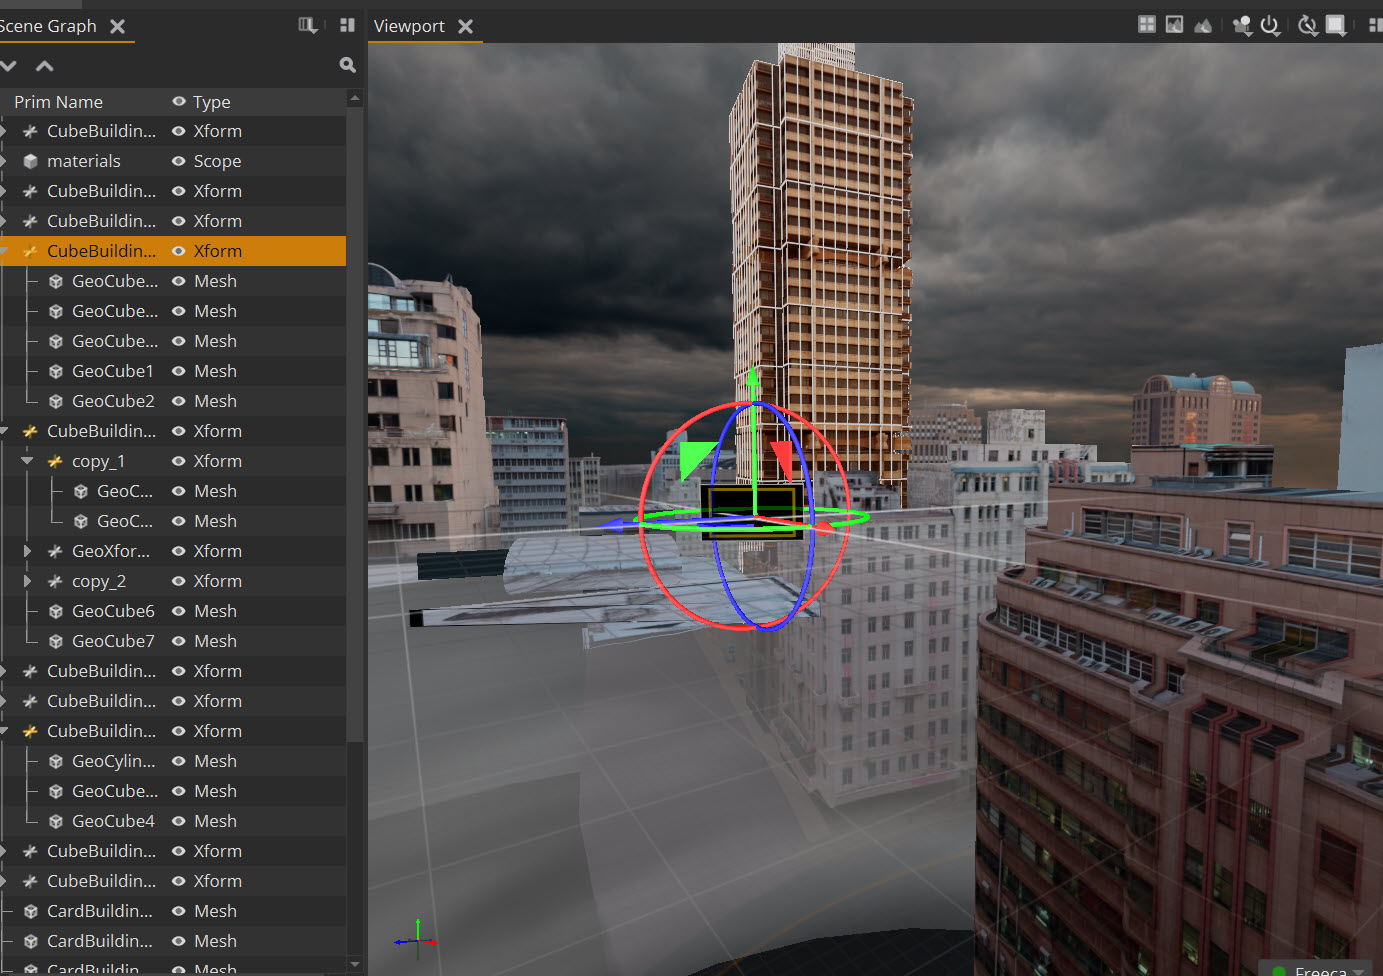
| 3. | To view the details of the objects within the USD scene, click the Scene workspace tab. |
| 4. | In the Scene Graph panel, the Prim name, Visibility, Type, and Kind of the objects will be displayed. |
Note: There is no default light in Nuke Stage. Ensure that any USD scene has lights already included in the file before loading.
You can add a mesh to your USD, which enables you to easily add features such as lightcards. Read Adding a Mesh to learn more.
Editing a USD Scene
Now you’ve set up the USD scene, you can customize your scene using the Node Graph. Below are a few examples of edits you can try out:
Node Graph
Grade Node
Edit individual elements of a scene on the texture graph using the Grade node- using the grade panel to change the color or the properties panel for whitepoint lift etc.
In this example we want to adjust the grade on one of our hero buildings so it better matches the stormy skyscape.
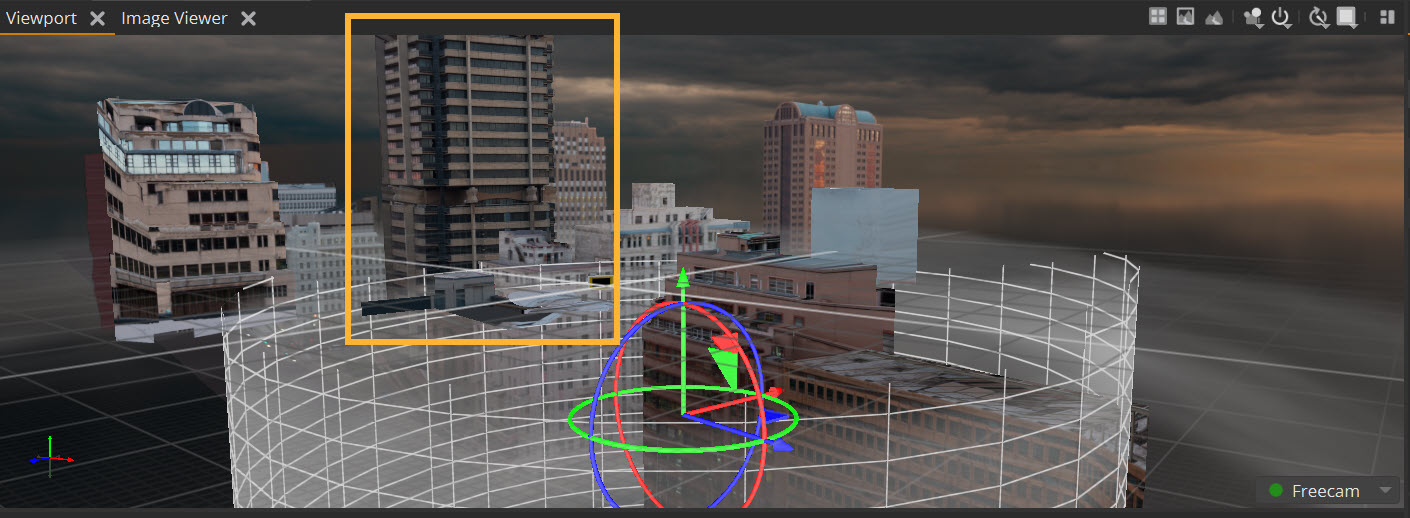
This object’s grade can be adjusted using the Grade4 node in the practice asset:
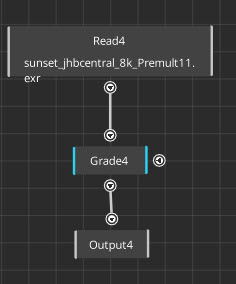
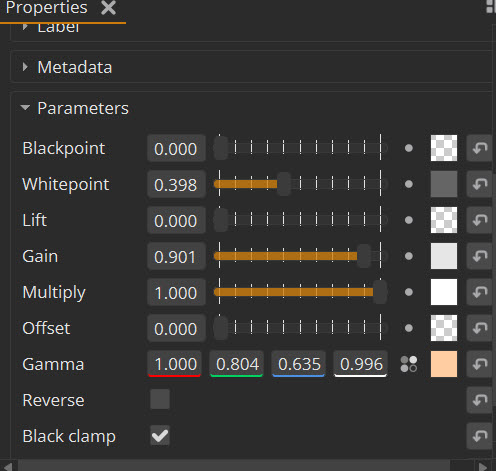
Open up the Grade4 node and adjust the parameters to get your desired look. The object will change as you adjust the parameters so you can immediately review and tweak your changes.
You can also make these changes in the Grade panel if you are more familiar with that workflow for color transforms.
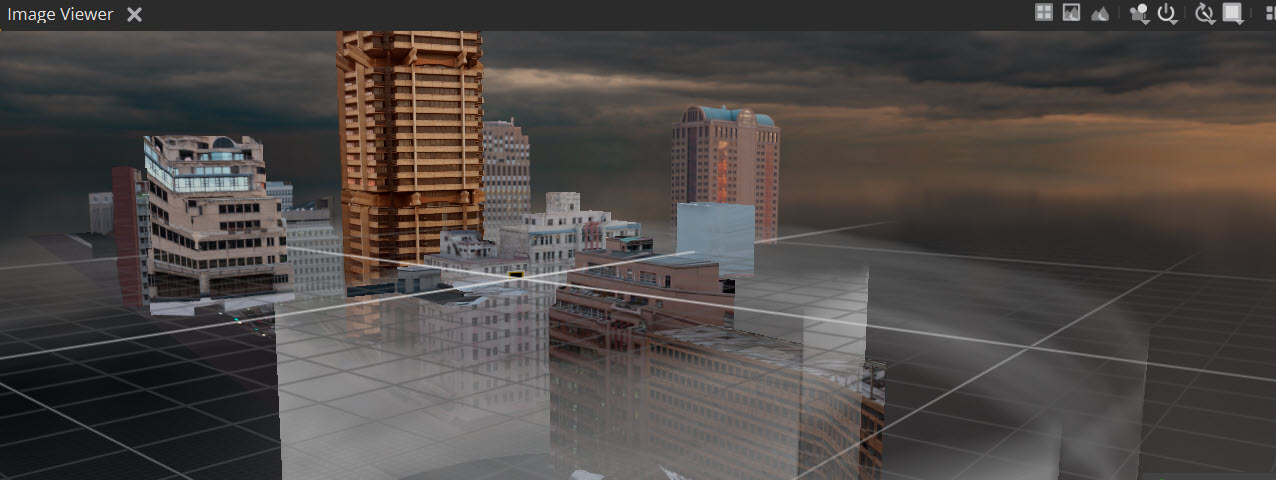
With these adjustments, the hero image now pops more and feels more in-line with the sunset lighting, creating a more realistic effect.
Geo positioning
We have the right color grading for our hero image, but we want to create more space for the dark clouds to increase the foreboding atmosphere of the scene.
Let’s move the object CubeBuilding04, which is the object we just graded.
| 1. | To do this, we select the object in the Scene Graph. |
| 2. | In the Properties panel, we can adjust the translation to move the geometry to where we want it. |
Geo Visibility
If we wanted to further alter our scene or look at an object in isolation, we can toggle the visibility of each object in the Scene Graph.
Note: These are just some of the ways you can edit your USD scene in Nuke Stage. Our User Guide provides more information on how to edit your Nuke Stage project - a good place to start is Editing Your Scene. The Nodes section of the Reference Guide includes a complete list and functionality of all Nodes available to use in Nuke Stage.